While the triggered by Zapier goal is only available for use in 'new' campaigns.
In this article, you will learn about the trigger by Zapier goal, how it can be used, and how to set it up.
About
If you have never heard of Zapier or are not familiar with them, Zapier makes it easy to automate tasks between over 500 web apps, including MOBIT. Inside Zapier, you set up things called Zaps. A Zap is a blueprint for a task you want to do over and over. In words, a Zap looks like this:
"When I get a new thing in A, do this other thing in B."
The first part is the Trigger and the second part is the Action. For example, when a Formstack web form is submitted (Trigger), you can send the contact to MOBIT and send them a text message (Action)
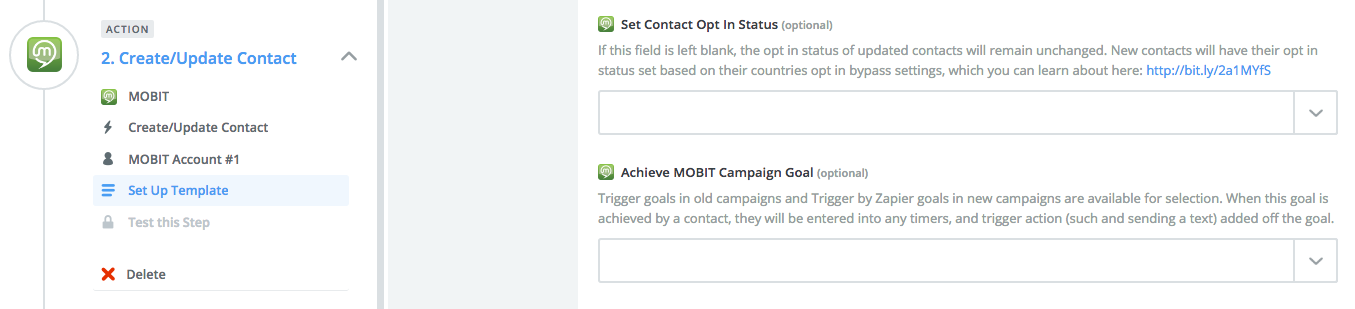
MOBIT's create/update contact Zapier Action can be configured so that contacts achieve a Trigger by Zapier Goal in your campaign, which will in turn trigger off actions, such as sending a text and enter them into any timers added off the goal.
MOBIT Set-up
1 - From your Campaign Builder, click the 'Add New Goal' button.
2 - Select Triggered by Zapier in the drop-down list of goals.
3 - Give your goal a name. This is name you will inside Zapier when configuring MOBIT's create/update contact action. Click 'Save'.
4 - Add the desired actions (such as send a text or apply a tag) and timers of your goal.
Zapier Set-up
About mid way through setting up your create/update contact MOBIT action in your Zap, you will be able to select your Triggered by Zapier goal from the Achieve MOBIT campaign goal drop down.