In this article, we will specifically explain how to set up and use MOBIT's goal achieved Zapier trigger. For a more generic article on creating a Zap, you should check out Zapiers own article.
About Triggers
In Zapier, a trigger is something that happens in an app that you want to be the start of a zap's workflow. Simply put, a Trigger is any event that sets your Zap in motion. For example, if you want to add a contact to a Mailchimp list when they submit a form in your MOBIT campaign, use the MOBIT goal achieved trigger. There can only be one trigger in a given zap.
Step by Step Instructions
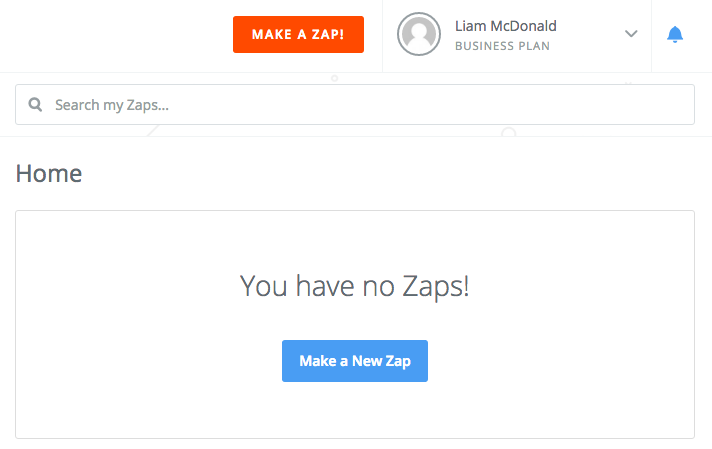
1 - From your Zapier Dashboard, click either of the Make a Zap buttons
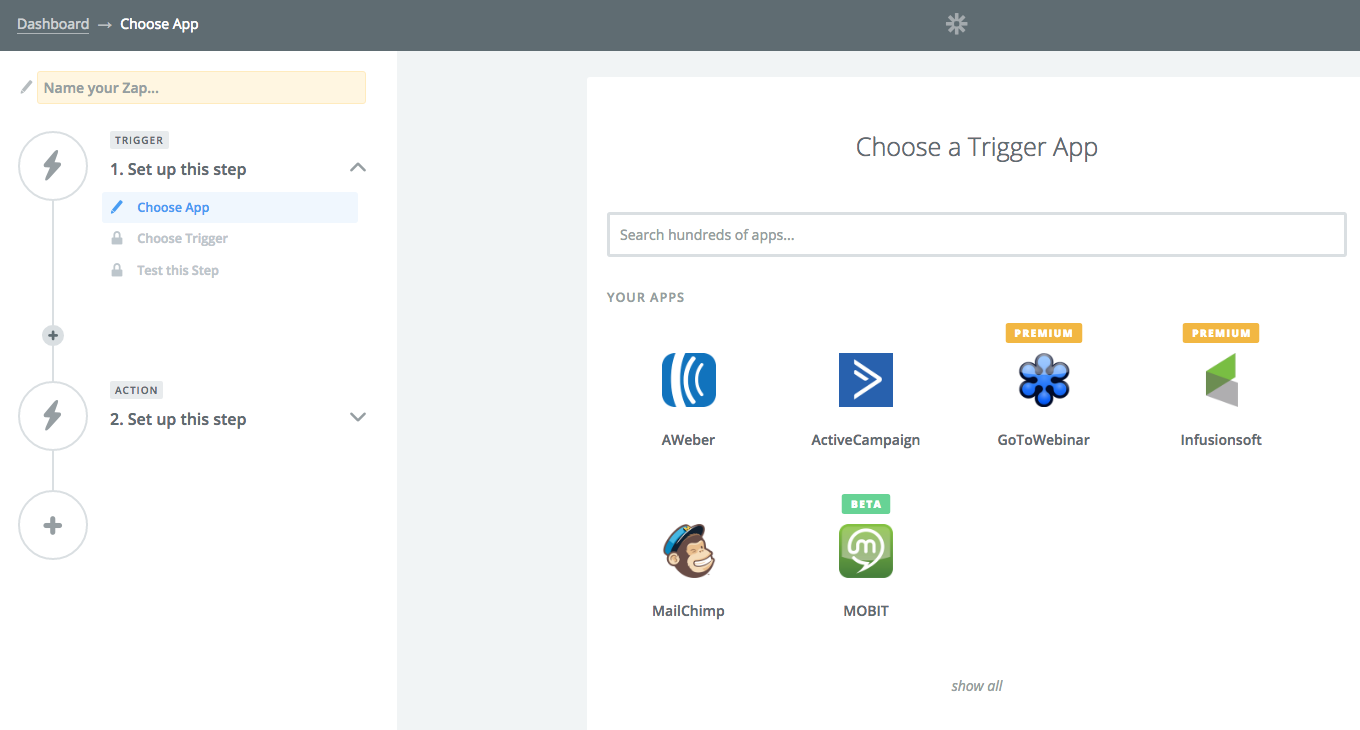
2 - Select MOBIT as your Trigger App. It is important to note that while MOBIT's Zapier app is fully functional, it is still in invite-only mode and is not publicly available in Zapier. Only invited users can use our app on Zapier. To be invited, contact us.
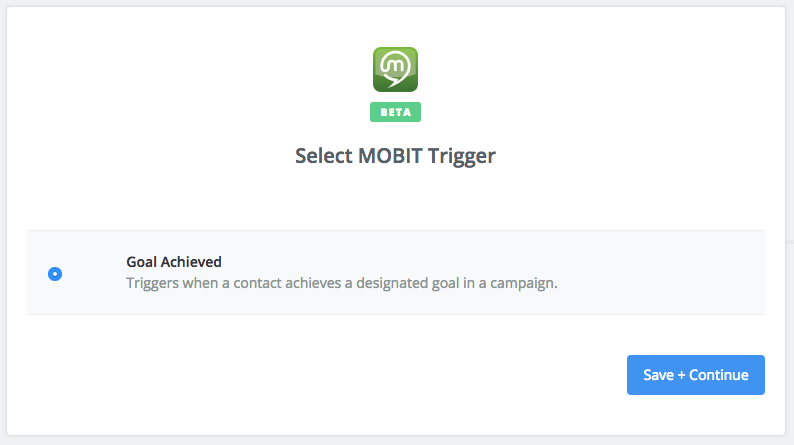
3 - Select the only MOBIT trigger available for selection then click Save + Continue.
4 - Choose your MOBIT account and click Save + Continue. If you have not done so, click here to learn how to connect your MOBIT account with Zapier.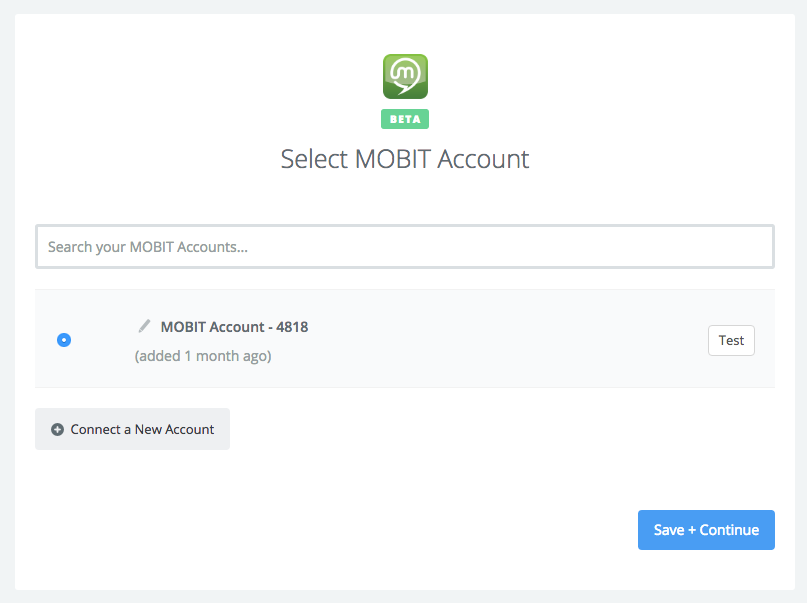
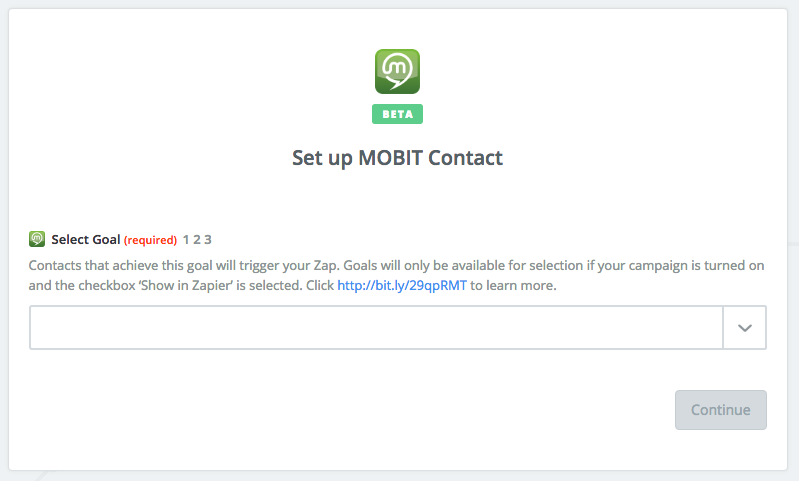
5 - Select the goal which will be used for your Zapier trigger. Goals will only be available for selection if your campaign is on and the checkbox "Show in Zapier" has been selected inside your goal.
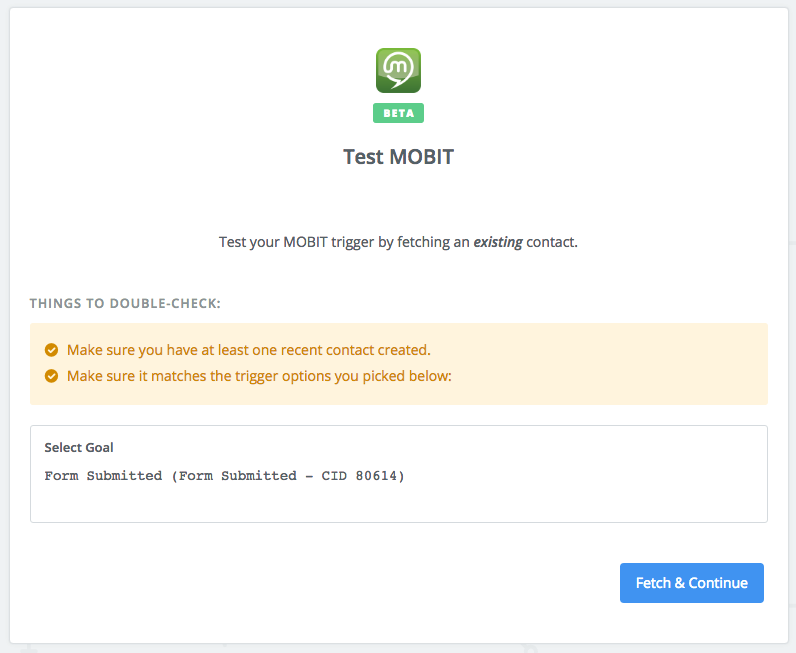
6 - Make sure that you have at least one recent contact created in your MOBIT account and click Fetch & Continue.
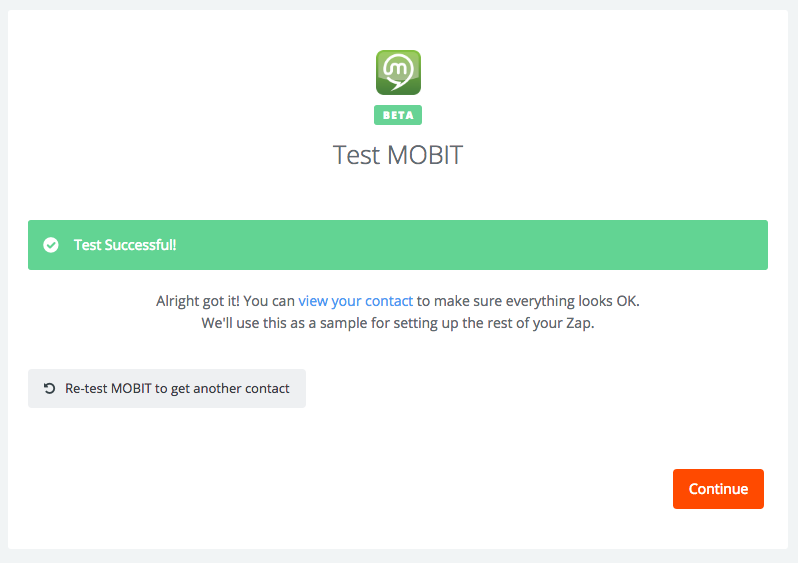
7 - Click continue to configure your action.
About Actions
An action is something your zap does after a trigger occurs. To continue the above example, if you use a zap to take MOBIT form submissions and add them to a Mailchimp list, Mailchimp's 'Add Subscriber' would be the action for that zap. A zap can only have one trigger, but it can have many actions. Click here to learn more.